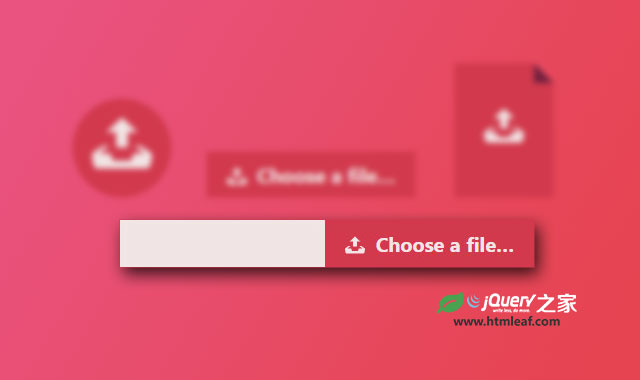

这是一款效果非常酷的文件上传表单域美化特效。该特效有7种不同的美化文件上传域的效果。其中有6种使用SVG来制作文件上传域的外观。这些文件上传域的美化效果时尚大方,非常的漂亮。
使用方法
这些文件上传域的美化使用的方法都是隐藏原生的<input type="file">元素,然后使用一个<label>元素来制作美化效果。
HTML结构
该文件上传域美化效果最基本的HTML结构如下:
<input type="file" name="file" id="file" class="inputfile" />
<label for="file">Choose a file</label>
CSS样式
首先需要隐藏<input>元素。这里不能使用display: none或visibility: hidden来隐藏它,因为这样做只后,<input>元素里的值不会被上传到服务器端,而且按TAB键时这个<input>元素也不会被找到。隐藏的方法如下:
.inputfile {
  width: 0.1px;
  height: 0.1px;
  opacity: 0;
  overflow: hidden;
  position: absolute;
  z-index: -1;
}
接下来给<label>元素设置样式。这里要将<label>元素制作为一个按钮的样式。
.inputfile + label {
    font-size: 1.25em;
    font-weight: 700;
    color: white;
    background-color: black;
    display: inline-block;
}

.inputfile:focus + label,
.inputfile + label:hover {
    background-color: red;
}
当鼠标滑过label时需要将光标显示为一个小手的形状。
.inputfile + label {
  cursor: pointer; /* "hand" cursor */
}
为了制作可以使用键盘导航的效果,需要添加下面的代码。
.inputfile:focus + label {
  outline: 1px dotted #000;
  outline: -webkit-focus-ring-color auto 5px;
}
-webkit-focus-ring-color auto 5px可以在 Chrome,Opera 和 Safari浏览器中获取默认的边框外观。

如果你使用了类似FastClick(一个在移动触摸设备上消除300毫秒tap-pause的工具库),并且你需要添加一些文本标签,那么按钮将不会正常工作,除非设置了pointer-events: none。
<label for="file"><strong>Choose a file</strong></label>
.inputfile + label * {
  pointer-events: none;
}
JavaScript
最后需要做的事情是标识用户选择了哪些文件。原生的文件上传域是有这个功能的,但是这里使用的是虚拟的按钮。特效中使用javascript来实现这个功能。
<input type="file" name="file" id="file" class="inputfile" data-multiple-caption="{count} files selected" multiple />
var inputs = document.querySelectorAll( '.inputfile' );
Array.prototype.forEach.call( inputs, function( input )
{
  var label  = input.nextElementSibling,
    labelVal = label.innerHTML;

  input.addEventListener( 'change', function( e )
  {
    var fileName = '';
    if( this.files && this.files.length > 1 )
      fileName = ( this.getAttribute( 'data-multiple-caption' ) || '' ).replace( '{count}', this.files.length );
    else
      fileName = e.target.value.split( '\\' ).pop();

    if( fileName )
      label.querySelector( 'span' ).innerHTML = fileName;
    else
      label.innerHTML = labelVal;
  });
});
浏览器禁用JavaScript的处理
如果浏览器禁用了JavaScript,那么只有使用原生的文件上传域组件。我们需要做的事情是在<html>元素上添加一个.no-js的class,然后使用Javascript来替换它。
<html class="no-js">
    <head>
        <!-- remove this if you use Modernizr -->
        <script>(function(e,t,n){var r=e.querySelectorAll("html")[0];r.className=r.className.replace(/(^|\s)no-js(\s|$)/,"$1js$2")})(document,window,0);</script>
    </head>
</html>
.js .inputfile {
    width: 0.1px;
    height: 0.1px;
    opacity: 0;
    overflow: hidden;
    position: absolute;
    z-index: -1;
}

.no-js .inputfile + label {
    display: none;
}
原文地址:http://tympanus.net/codrops/2015/09/15/styling-customizing-file-inputs-smart-way/